The Definitive Rice Frog Manual: A Quick Handsewing Project
So, I’ve heard you want to make a rice frog. Well, you’ve come to the right place, my friend.
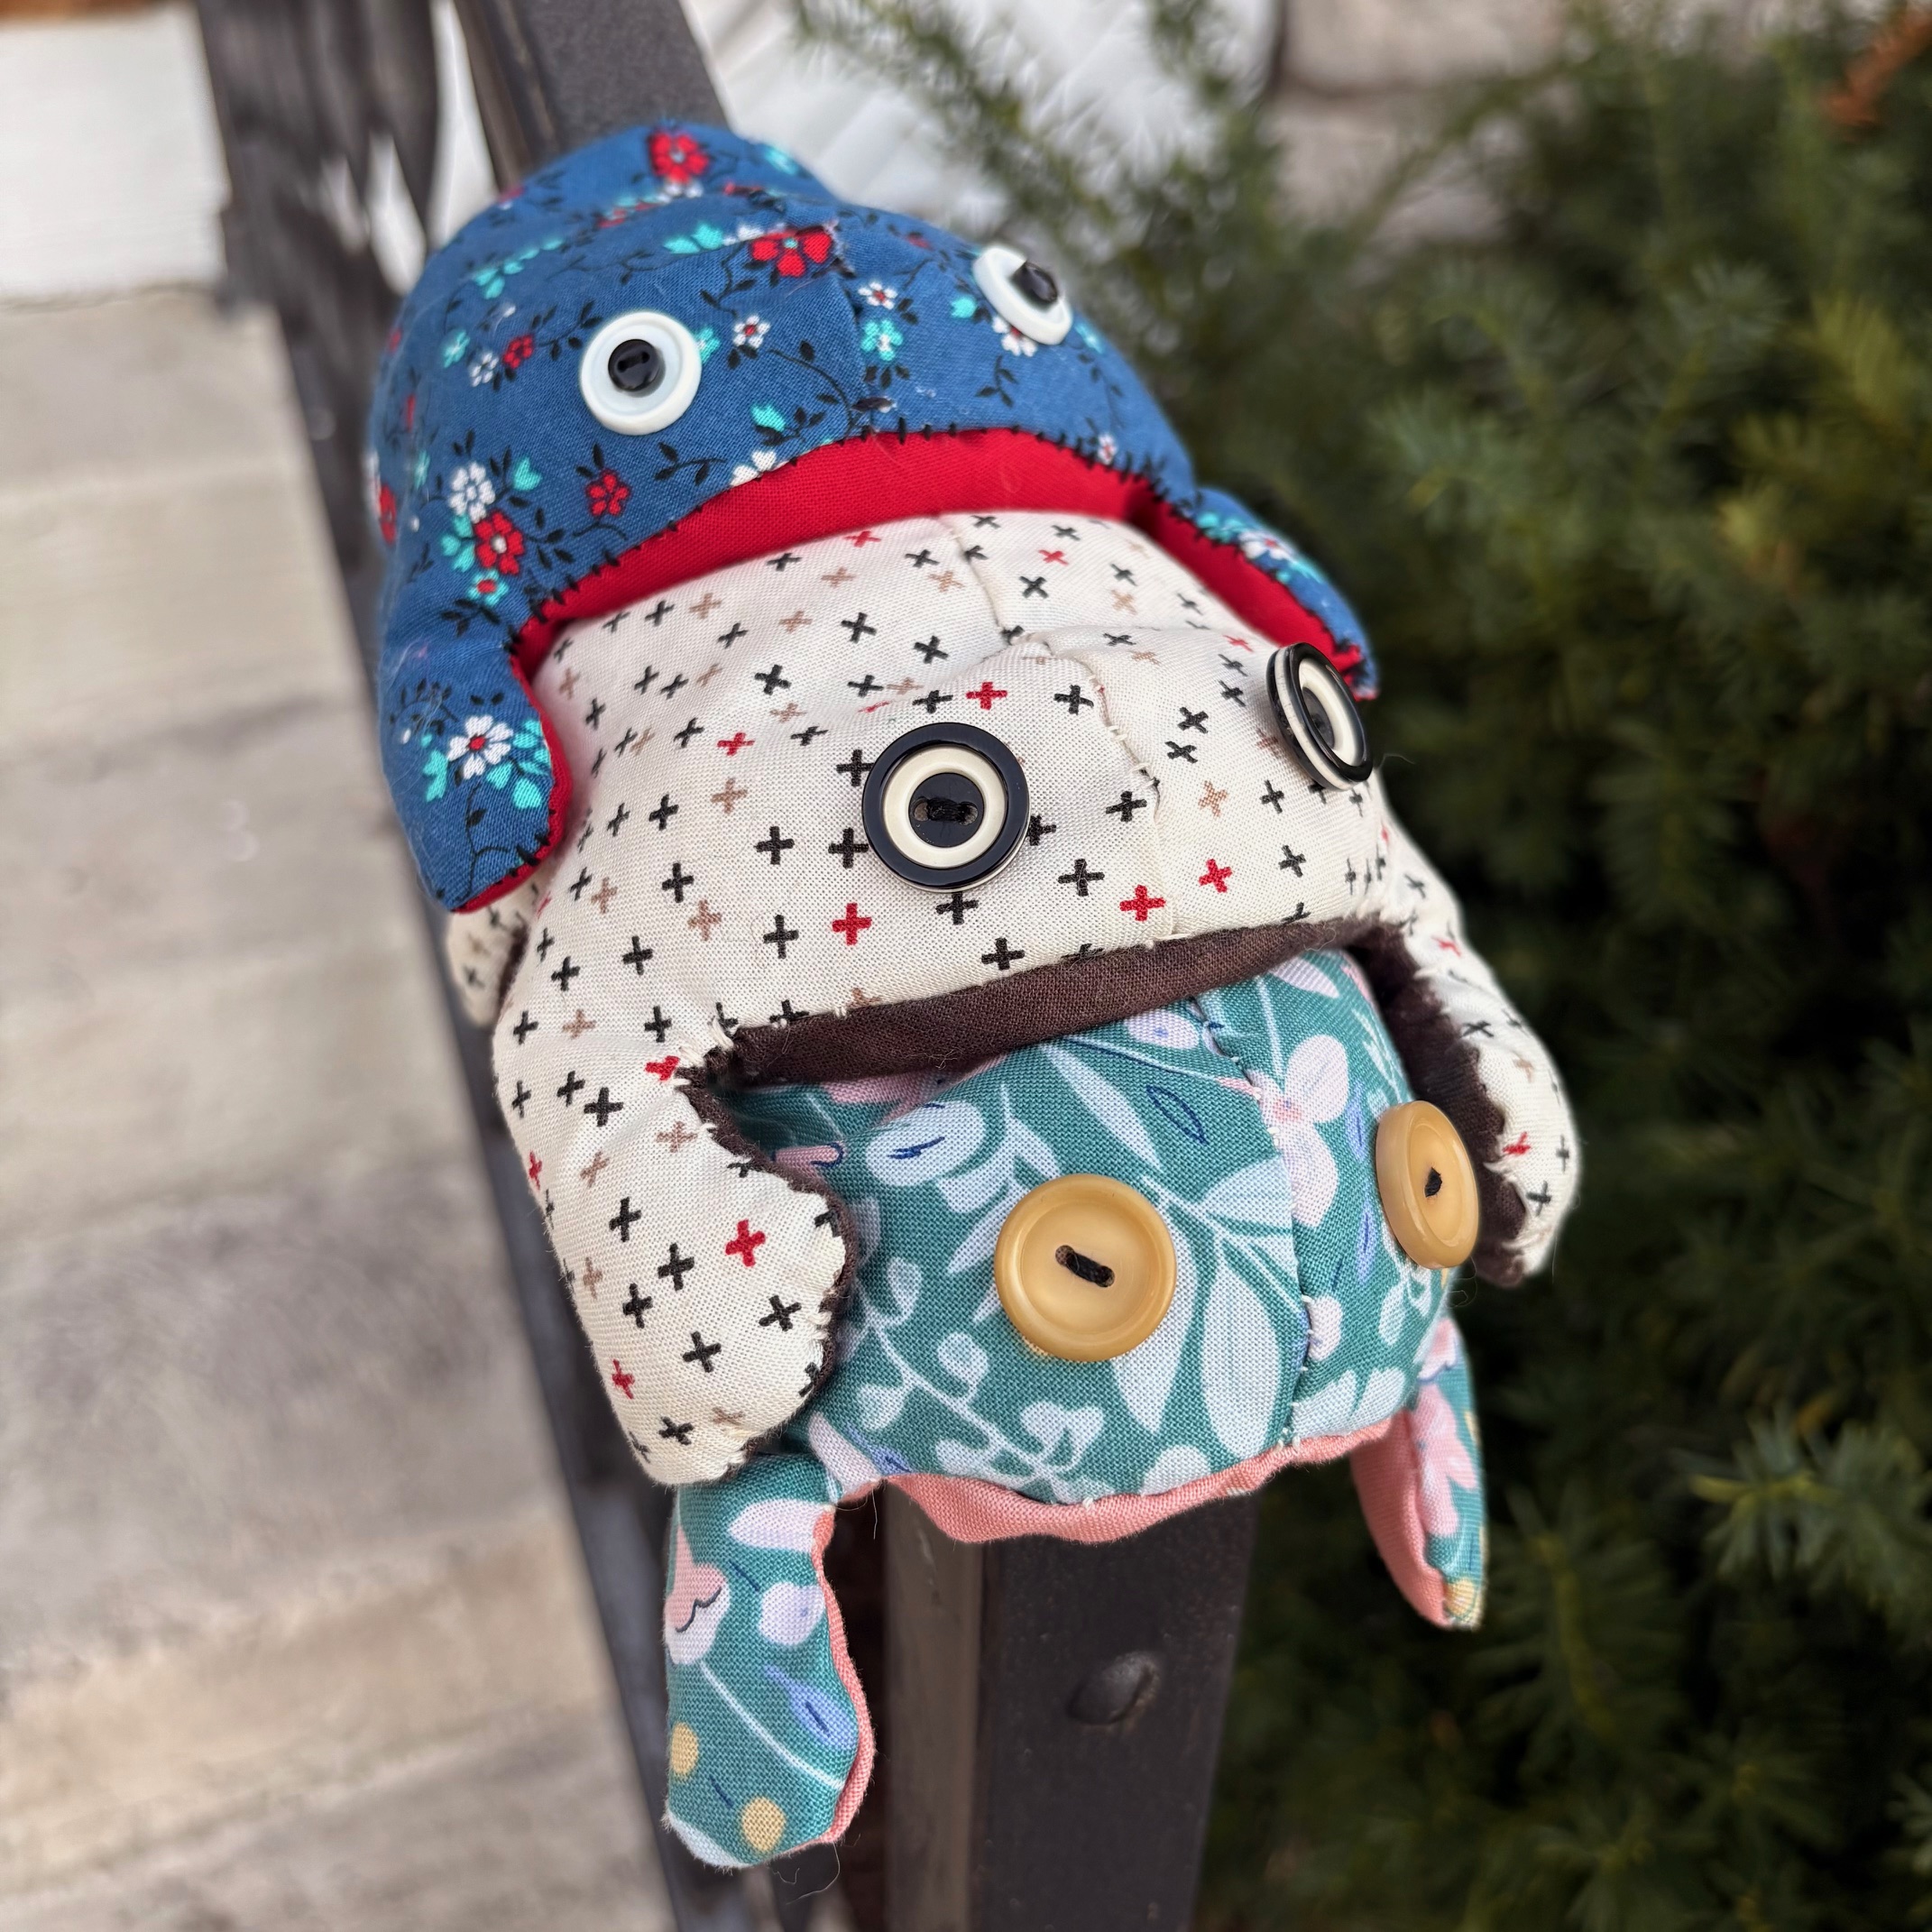
You will need the following:
- Basic Hand Sewing Stitches (the backstitch is great!)
- Needle and thread
- 2 buttons for the eyes
- Sewing pins
- Scissors
- Fabric of your choice*
- The Rice Frog Sewing Pattern
- Rice or plastic pellets to fill your frog
*This project does not require a lot of fabric; a fat quarter (18” by 22”) of fabric will do just fine. You can use a different fabric for the frog’s belly. Choose fabric that brings you joy!
Exploring the Pattern:
This pattern was designed to provide two different pattern pieces using the same piece of paper. This is accomplished by folding down a portion of the paper along where the frog’s back or belly will be.

Cutting the Fabric:
You will want to cut two pieces of the main body fabric, making sure that these pieces are mirrored and the pattern piece is unfolded. This can sound tricky, but a great way to ensure that the pieces are mirrored is by folding your fabric in half and cutting through both layers of fabric.
The belly fabric is a little more straight forward. Cutting the belly fabric will include folding the paper flap on the pattern down and using this folded edge as a guide when you cut. You will want to fold your belly fabric in half, and match the folded edge of the fabric with the folded edge of the Rice Frog Sewing Pattern. This process should look something like this:

PRO TIP: Use quilters clips or pins when cutting your fabric to keep it from moving beneath the pattern!
It's time to sew!
Place the two main body pieces right sides together. This means the pretty side you want to be shown will be on the inside. Because we will be turning these frogs right sides out, it will work. Trust me!
Thread your needle…it’s time. You will want to sew along the curve of the frog’s back, leaving about a quarter inch of seam allowance from the edge of the fabric.

Sewing the buttons:
Using your newly formed frog body as a guide, place and sew the button eyes onto your frog’s body, following the diagram shown below.

Sewing the frog’s body:
Now, take the belly fabric with the right side facing up and place the main body fabric right side down on top of the belly fabric. Ensure that the buttons are sandwiched between the two layers of fabric.
Next, sew nearly all the way around, leaving a two inch gap to flip your frog right sides out.

After sewing, flip your frog right sides out through the gap you left while sewing. Use a pen, pencil, or chopstick to poke the little hands and feet out. Using the same gap, it’s time to fill your rice frog. A funnel or a makeshift funnel is very helpful for this process.
Sewing the gap closed:
You’re almost there! After the rice frog is full, sew the gap closed. I find the best stitch for this is the ladder stitch, but use whatever feels best in your heart!

BEHOLD! Your new child! I hope you enjoy them!
Instructions Last Updated: March 2026